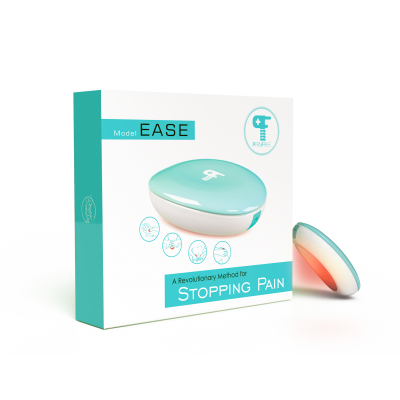
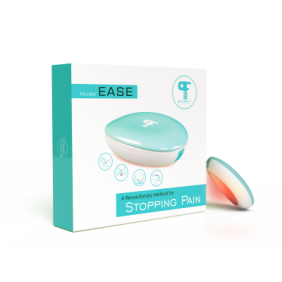
Painfree Infrared & Red light Pain Relief Device-Model Ease
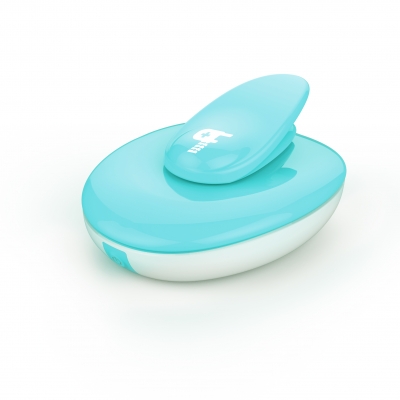
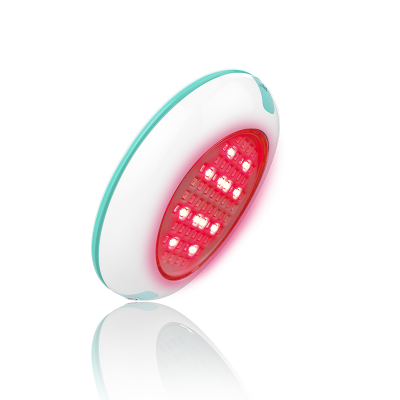
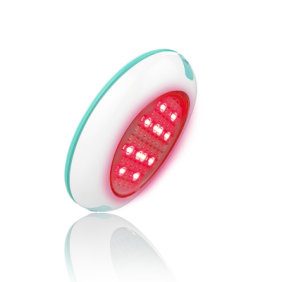
The PainFree Model Ease is a wearable health care product, using 660nm red spectrum technology and deep 880nm infrared LED light energy to activate cells production and blocks pain-transmitting chemicals to relief pain and discomfort associated with sports injuries.
Specifications
Suitable For: Any body parts, including but not only for hands, palm, fingers, back, waist, hips, legs, toes and joints etc.
Model No.
56600121
Red LED Light 660nm
660nm LED Red Light is effective for
increasing blood flow, pain management, wound and bruise healing, relax the
muscles in order to reduce pain.
Infrared Light 880nm
880nm Infrared thermal radiation can
penetrate deeply into the skin, provide muscle heating, stimulate blood
circulation and warm the muscles. After smoothing the muscle it will get rid of
toxins and makes your joints more flexible.
In addition, it helps to promote blood
circulation, accelerate metabolism, relax muscles, relieve pain, and increase
joint flexibility for multiple health benefits.
Natural Safety
PainFree Model Ease does not require medication and can be used instead of medication. Model Ease does not require a doctor's prescription and is immune to the side effects of medication.
Treatment Area
Flexible to curve and fit any body part and contours of the body which including but not only for hands, palm, fingers, back, waist, hips, legs, toes and joints etc.
Includes different accessories for specific body area
Includes different accessories for specific body area
How to Use
1. Please take off all accessories made of metals from the body such as necklace, earring, rings etc, to avoid any injury.
2. Please make sure the skin region in the area to be treated is clean, entirely dry and free from creams, lotions and
other cosmetics.
3. Please remove clothing from the area to be treated.
2. Please make sure the skin region in the area to be treated is clean, entirely dry and free from creams, lotions and
other cosmetics.
3. Please remove clothing from the area to be treated.
Using Magnet U (Suitable for any body parts)
1. Place the product discreetly under your clothes. (Picture 1) Remove clothing from the area to be treated.
2. Make sure the product is located on the area to be treated and the LED area is in contact with the skin.
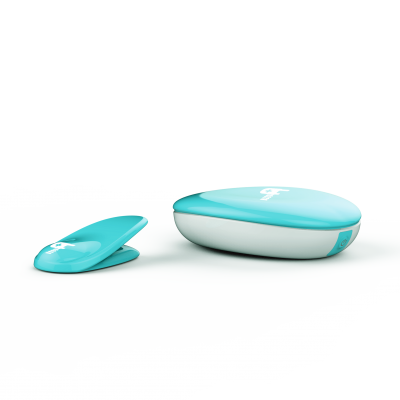
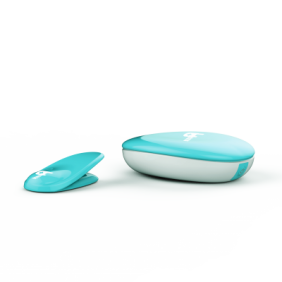
3. Put the “Magnet U” onto your clothes to the corresponding position to stable the product. (Picture 2)
4. Once the treatment ends, it automatically switches off with a “beep” sound.
2. Make sure the product is located on the area to be treated and the LED area is in contact with the skin.
3. Put the “Magnet U” onto your clothes to the corresponding position to stable the product. (Picture 2)
4. Once the treatment ends, it automatically switches off with a “beep” sound.
Using the Armband (Suitable for waist)
1. Put the device into the “H” frame (Picture 3)
2. Pass the velcro strap through gap A. (Picture 4)
3. Place the armband in the position of use and ensure the device’s LED area is in contact with the skin.
4. Gently tighten the velcro strap (should not be too loose or too tight).
5. Pass the velcro strap through gap B. (Picture 5)
6. Fasten the velcro strap to secure the armband.
7. Press the On/Off button.
8. Once the treatment ends, it automatically switches off with a “beep” sound.
9. Loosen the strap and remove it from your body and remove the device from the “H” frame.
10. Recharge the device if necessary (see page. 12, section “Battery Level Signals”).
Using the Waistband (Suitable for waist)
1. Put the product into the waistband (Picture 6)
2. Make sure that the LED area is not covered by the material of the band. If necessary, shift the device a little.
3. Make sure the product is located on the area to be treated and the LED area is in contact with the skin.
4. Wrap the waistband with the product there in around the corresponding position (such as your waist). (Picture 7)
5. Fasten the waistband with the velcro strips on both end of the waistband.
6. Press the On/Off button.
7. Once the treatment ends, it automatically switches off with a “beep” sound.
8. Loosen the waistband and remove it from your body and remove the product from the “H” frame.
9. Recharge the product if necessary (see page. 12 section “Battery Level Signals”).
Recommend Products
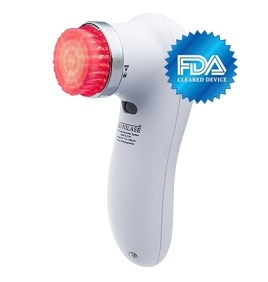
Sonulase Red Light Therapy Cleansing Brush
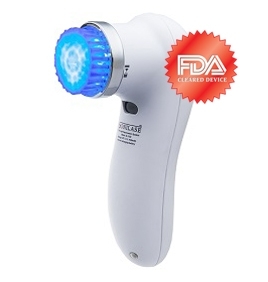
Sonulase Blue Light Therapy Cleansing Brush
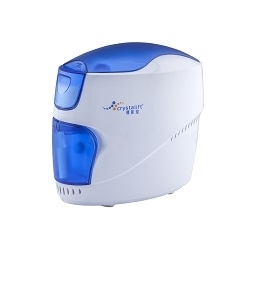
Micro-Dermabrasion
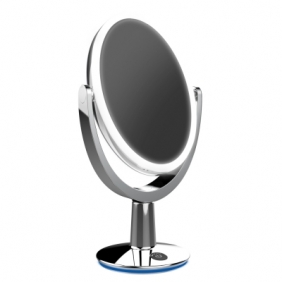
Superstar Oval Shaped Dual-Sided Lighted Vanity Mirror, 1X/5X Magnifying Makeup Mirror
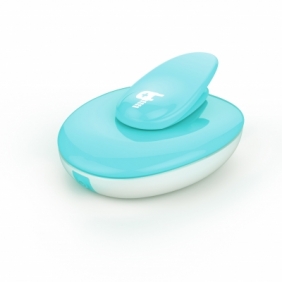
Painfree Infrared & Red light Pain Relief Device-Model Ease
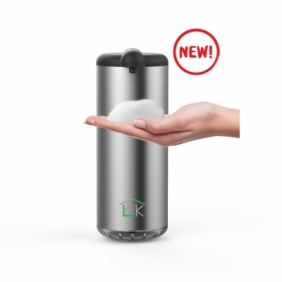
LokFoam Automatic Foaming Soap Dispenser
Touch-free & Rechargeable
Touch-free & Rechargeable

